The PoleOS™ Company
IKE Office Tour – Form Builder
In today’s IKE Office Tour, we will take a look at the form builder. Starting with the form builder is not without reason. Forms are where it all begins. A form is required to collect data and a good form will dictate how data comes in from the field to make the life of anyone working in IKE Office easier. In this tour, we will take a look at the form builder and all the tools available inside it.
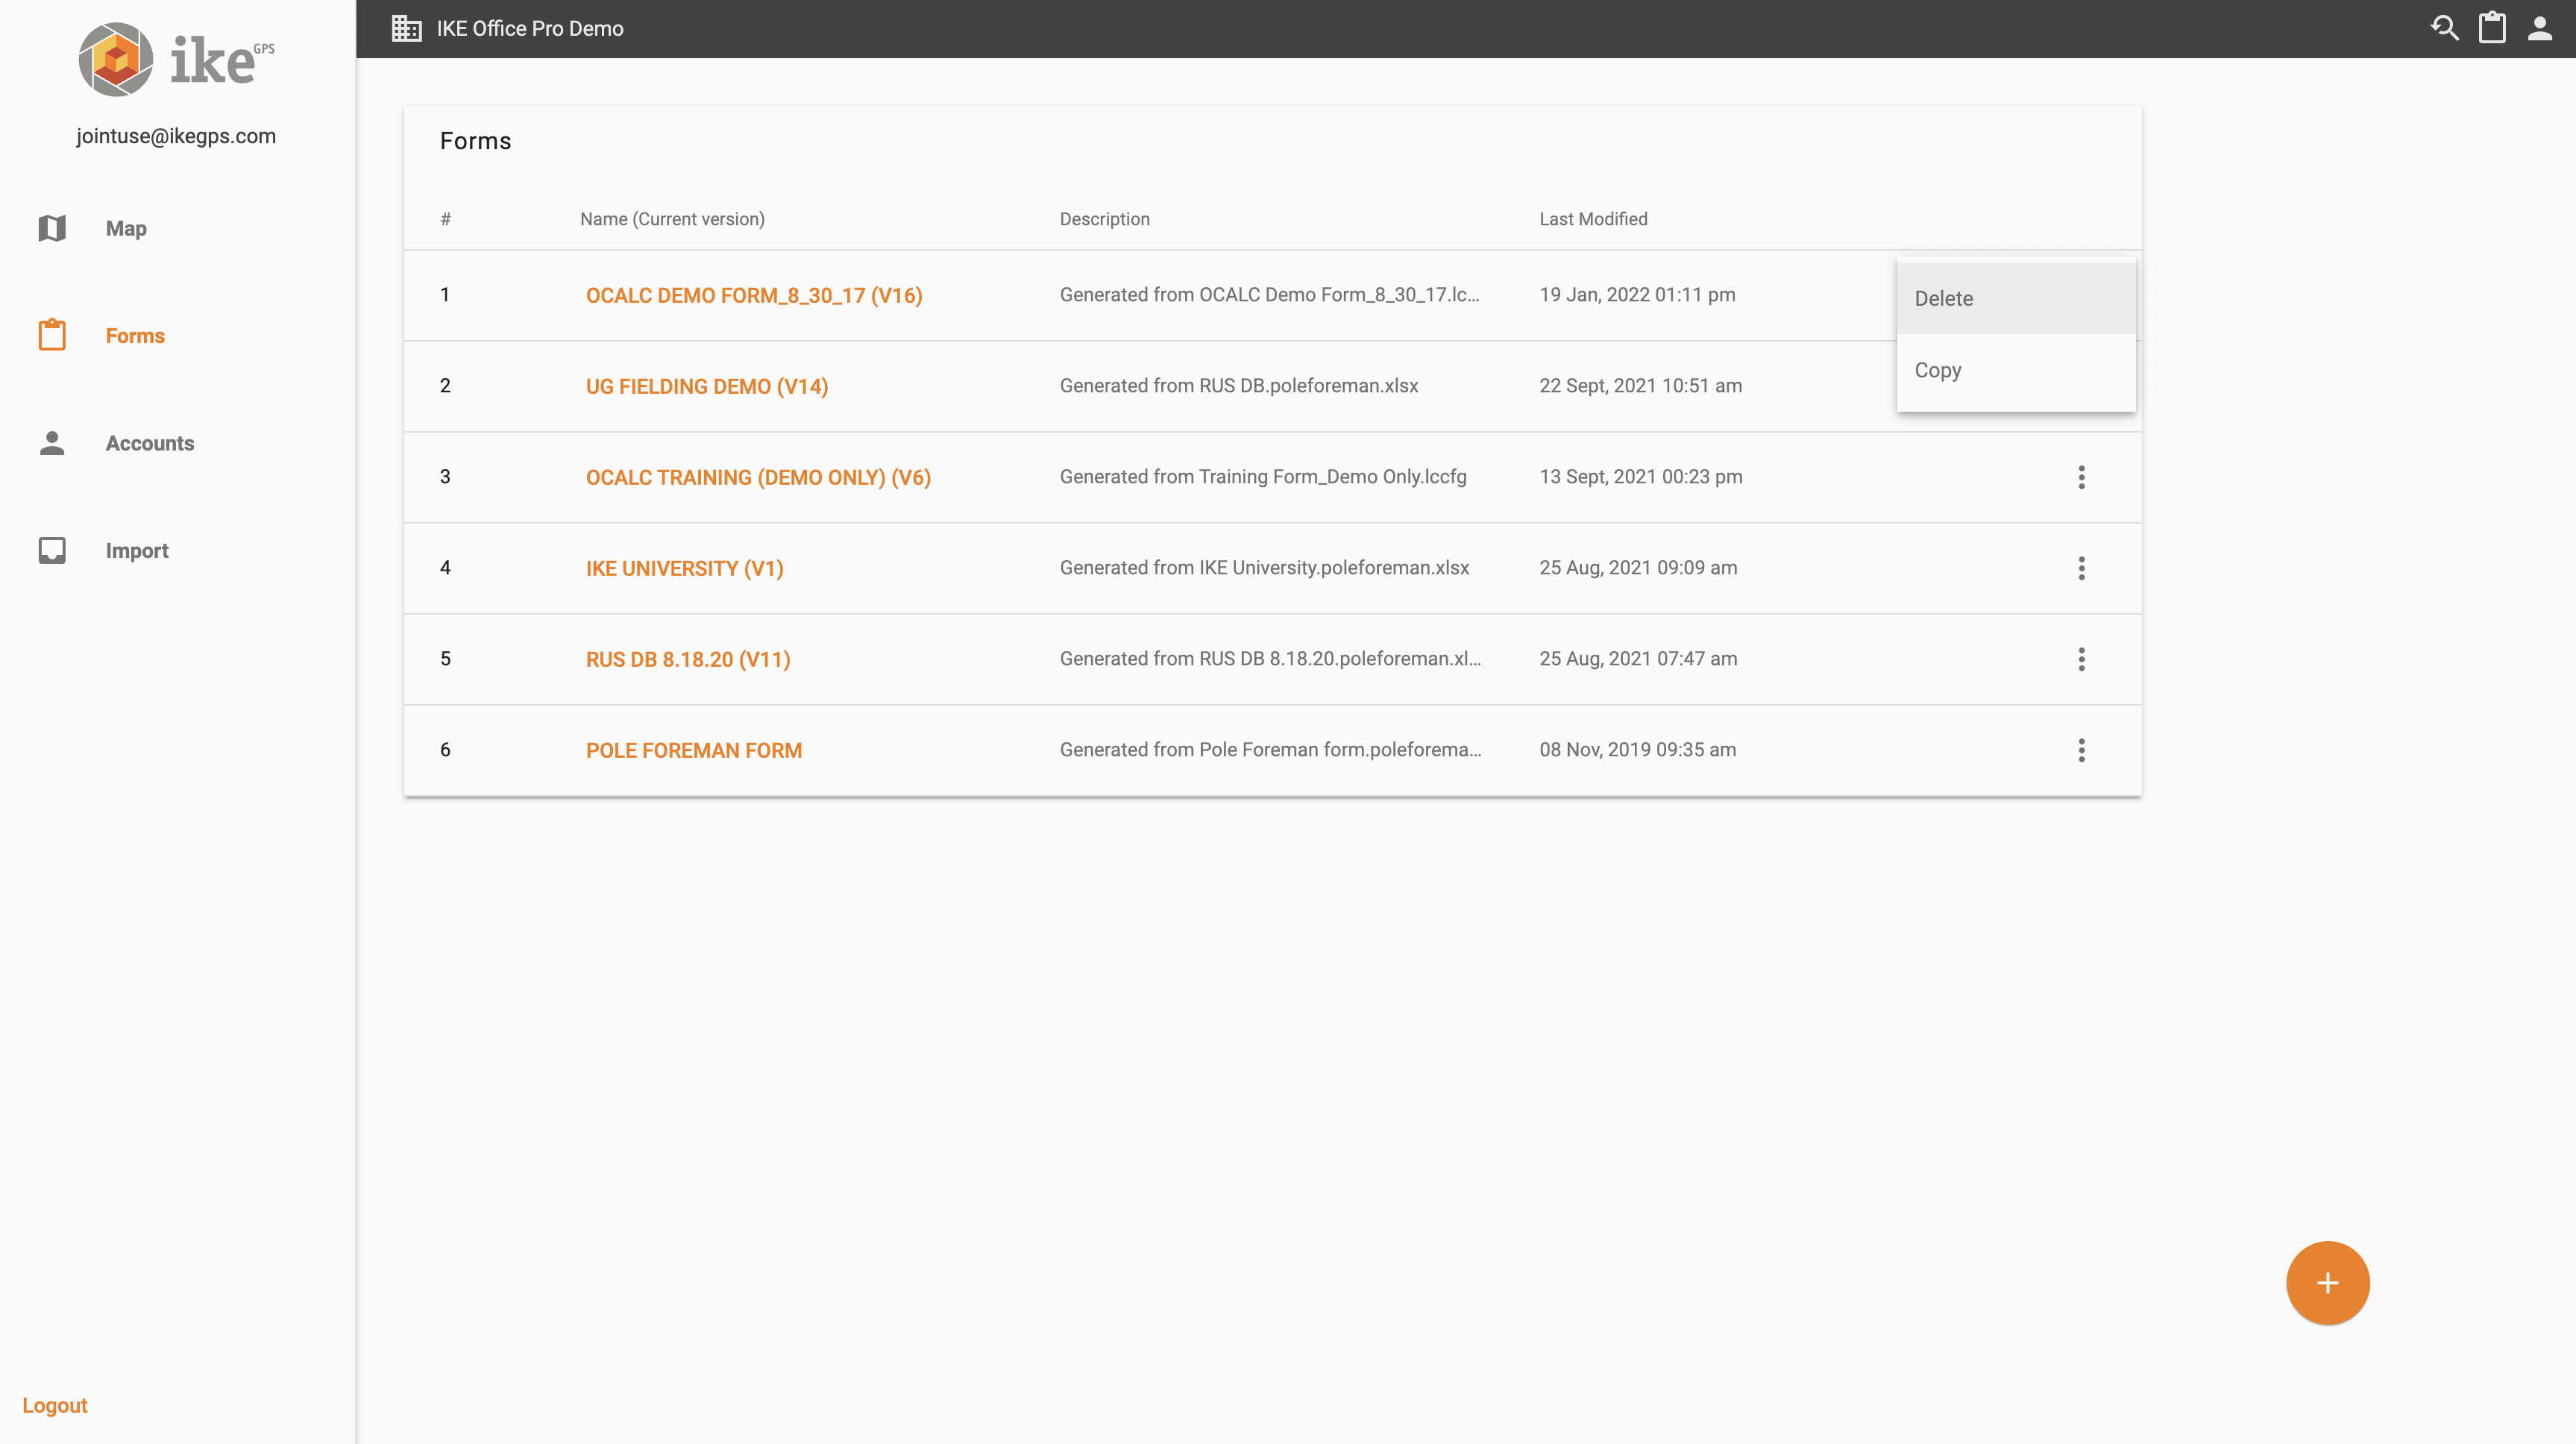
The forms screen is found in the menu by clicking the IKE logo, then forms or by clicking to clipboard icon. Creating a new form is as simple as hitting the orange button in the lower right. That opens the builder where the form can be named. Once named, forms can be built in any number of ways to fit the project at hand.
The only caveat to remember with forms: IKE’s team will set up many of your forms as you get started to ensure efficiency and integration compatibility. Forms that need to integrate with PoleForeman, O-Calc Pro, or SPIDAcalc must be built by IKE Support. IKE Support will need the database, catalog, or client file with the equipment and owners your project requires to build the form. Without this crucial step, there will be no direct export for pole loading analysis. As an added bonus, this ensures that data always integrates given varied equipment catalogs from pole owners and the nuances of pole loading software. Of course, you can add additional form fields to a PLA form to hold more information in your IKE record.
Non-PLA forms can be built with a few simple clicks to add the various tools using the “Add field…” button in the column on the left.

Form Tools
- Text
- Add a simple text field to the form. This can be used for Collection names, addresses, and notes.
- Height
- The height tool is in the field is primarily used to measure midspan heights and will direct you through the accurate measurement from a wire to the ground. In the office, the height tool is used to annotate heights of attachment on your IKE Photos of poles.
- Number
- Add any number to the form. This tool can also be used to capture a reverse bearing in the field.
- Photo Measure
- The photo measure tool captures a calibrated image of a pole, sometimes called an IKE Photo. Those images can then be used to measure heights of attachment from IKE Office as soon as the data is uploaded.
- Date
- Add a simple date to the form.
- Select List
- Add a traditional picklist to select from a range of preset options. This is often used for single options like span type (Fore span, tap span, building drop etc.).
- Yes No
- Add a simple toggle to collect binary data points.
- Nested List
- Create multi level lists to allow for more detailed selection of data points. One example of this is often seen with pole owner data. The first level might ask if the pole owner is a utility or communication company. Based on that selection, the user will receive a different set of options to choose from- for the Communications selection the next set of options for owners may be the local Fiber company, the local Telco, and the local CATV.
- Subform
- Add a whole subsection within the workflow for a specific piece of the collection. This could be for anchors, circuits, or spans.
- Location
- Collect the location of an asset. This tool gives the field user the option of using two methods for capturing locations:
- Target position – Utilize the laser to capture the position of an asset without standing at the asset. This can help keep fielders safe by limiting road crossings and other hazards.
- Local Point – Most accurate location capture method. Capture the location of where the device is.
- Collect the location of an asset. This tool gives the field user the option of using two methods for capturing locations:
- Image
- Take a picture, thats it. It could be of a pole tag or some vegetation.
- Vector
- A simple point to point measurement tool. Use it to capture the distance between any two points. Most often, it is used to capture span lengths.
- Vertical Separation
- Measure the space between two pieces of a equipment or wires in IKE Office.
- Office Pro feature only
The beauty of the cloud-based form builder means as soon as forms are saved, they are available on any IKE Device in the department with an internet or cellular connection. Any changes can be made by heading back into the form builder, making the change, and saving. The new field will show up on the device when the user creates a new job.
If you have any questions about forms or would like to see a demo, please don’t hesitate to reach out.
The latest from the IKE Wire
The IKE Device now supports staking and a lot more utility fielding workflows
The latest round of IKE Device updates expands the scope of what a single field data ...
Read MorePole loading analysis as a risk management strategy for utilities
How to turn uncertainty on distribution asset health into quantified, manageable risk...
Read MoreIKE Q2 2026 product updates
The second quarter brought updates across the full IKE portfolio. IKE Device gets a m...
Read MoreSubscribe to the IKE Wire
Get the latest insights on data acquisition and structural analysis from the ikeGPS experts.